
Our eight week session has come to an end, and on its final night we made zines, mini-books and pamphlets.
RESULTS
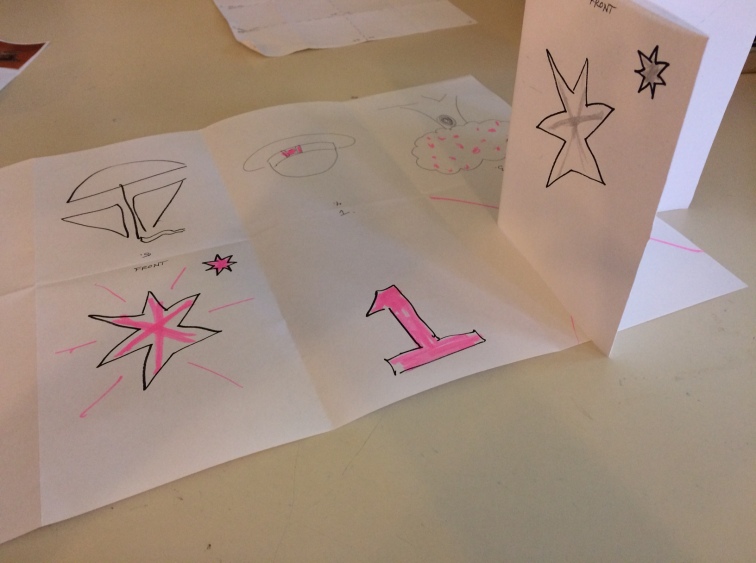
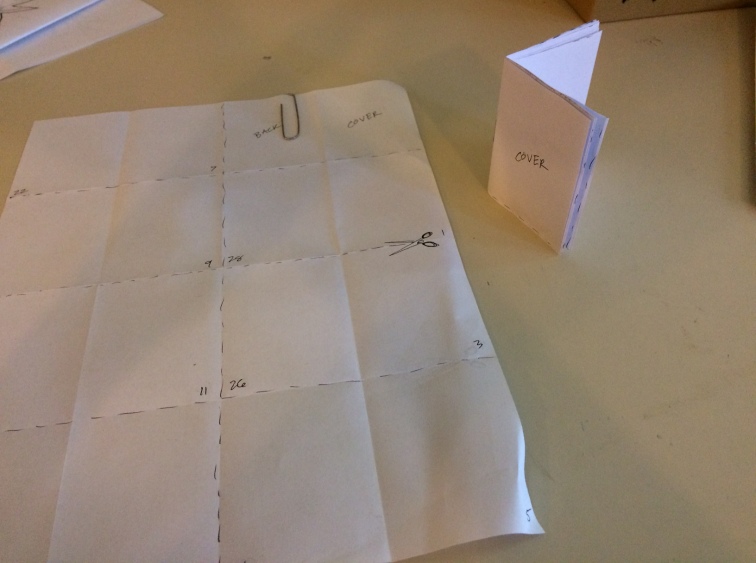
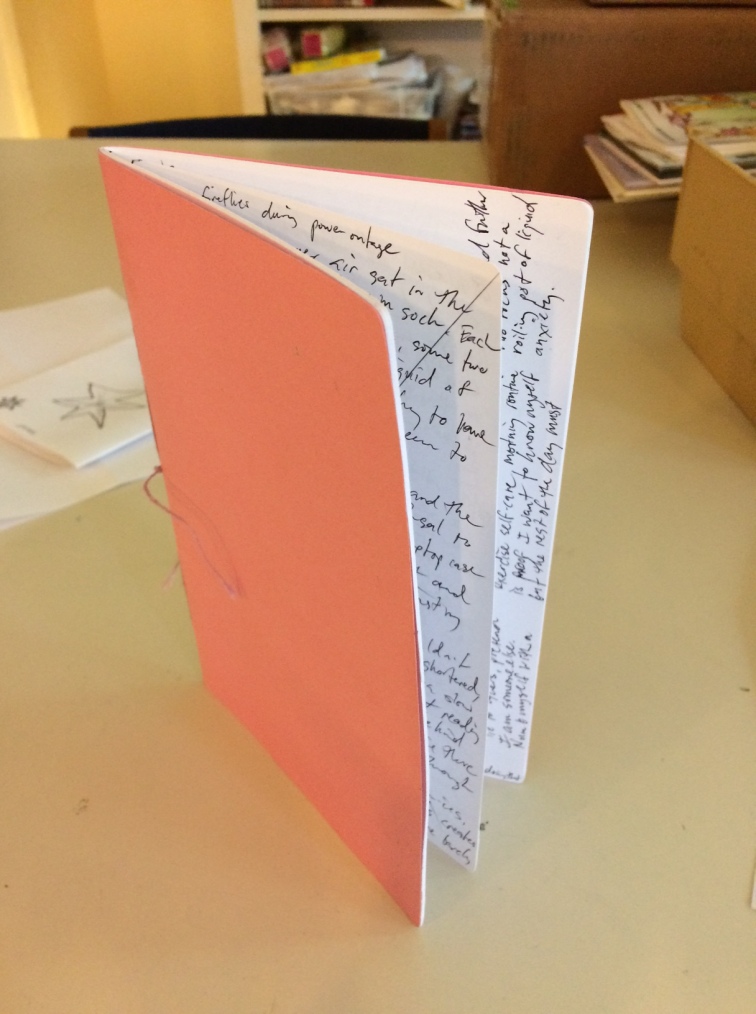
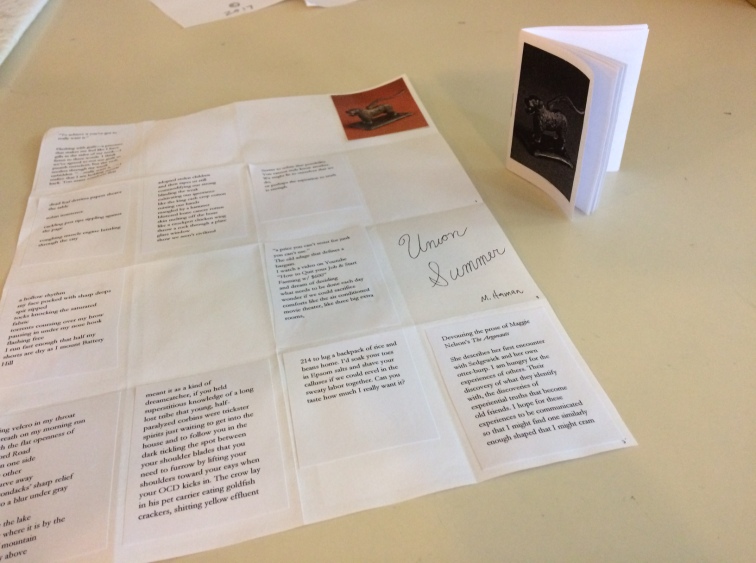
I neglected to capture a record of all the results of our group’s work last night, but here are a few of the blank templates I made, a journal of mine, and my finished master sheet and stapled micro-mini zine.
INSPIRATION
I found a great article this week in a copy of the New York Times Book Review. Matthew Zapruder writes about opacity and clarity in poetry. He deftly navigates what I suspect is the main reason so many people don’t like poetry: the expectation of a riddle and that poetry is challenging.
I stand firmly in Zapruder’s camp. The poet who consciously or unconsciously obscures his meaning fails. Deliberate obscurity is not the same as touching the expansive, mysterious truth of existence.
I also love his assignment for his students that sends them to the library to investigate one word. One, single word! That makes me feel alive.
STITCHED BINDING
One of the delights of zine making is the diversity of forms available. I could tell, though, that last night everyone was interested in learning how to stitch a bound book together. So, here’s a quick recap. This technique will be for a single signature, pamphlet-style book or journal. It’s basic but sturdy. I use it to make the journals in which I write. I’m going to skip a bunch of considerations (like paper grain) in the interest of keeping this simple. If you want to learn book-binding there great books out there to learn from.
Fold and nest all of the pages you want to bind. I usually fold an 8.5×11 sheet in half, and this one is one of the most basic forms of book/booklet/pamphlet. The last sheet you fold can be slightly thicker cardstock or patterned paper. Open your phonebook (do they still make those?) and lay it on a table. Place your nested signature into the open phonebook. Take your awl and punch three holes through the spine in the center of the fold. Make sure the holes are big enough for the needle and thread you’ll be using, but you don’t have to worry about symmetry if you don’t want to.
Take a piece of string two or three times the height of your spine and thread your needle. If you want tails on the outside of your book, start stitching on the outside and pass the needle inside through your center hole. If you want to hide your string as much as possible, start inside and pass the needle out through the center hole. Start at the center whole, then pass the needle in the opposite direction through the top hole. Then, pass the needle the opposite direction through the bottom whole, and finally back through the center whole in the opposite direction. Your string should have made a “B” shape, finishing with two tails either inside or outside the center whole. Tie off the two tails in a square knot and you’re done!
DO IT YOURSELF
Practice making a book yourself! Whatcha Mean, What’s a Zine? is a great book to start with. Feel free to share results!
